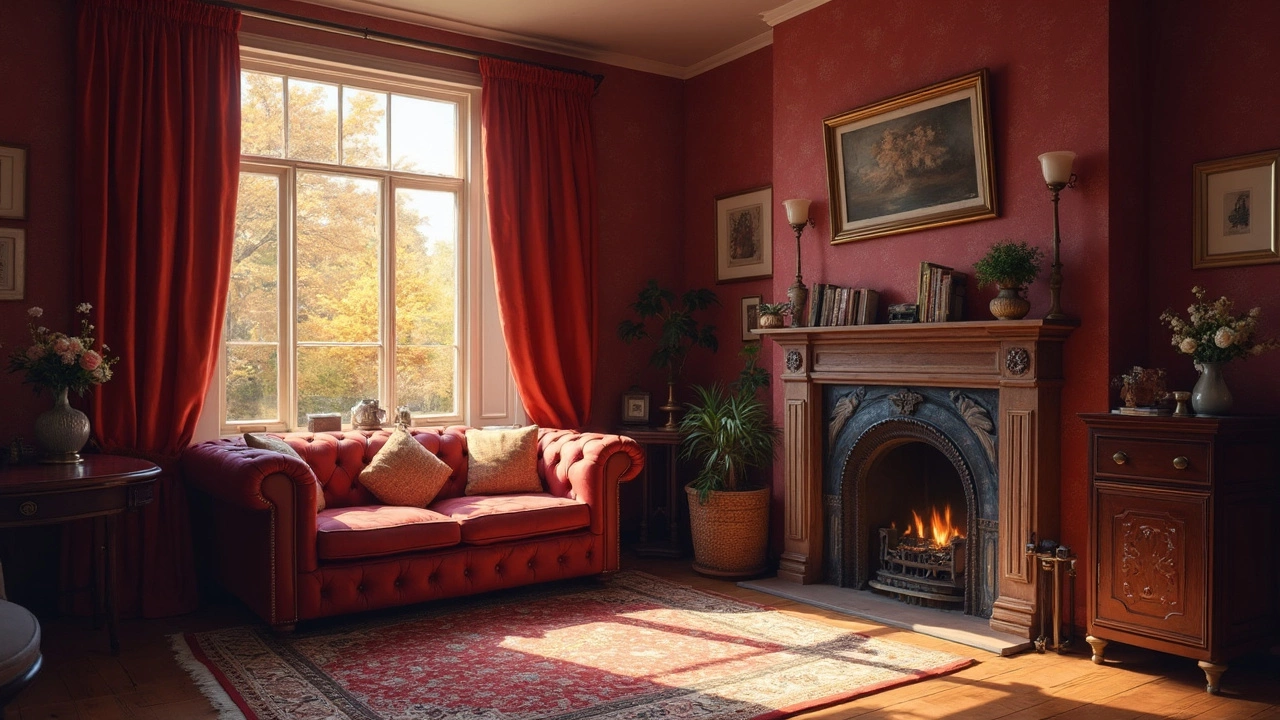
How to Hang Curtains – Easy DIY Guide
Want to dress your windows without calling a pro? You can do it yourself with a few basic tools and a bit of patience. This guide walks you through the whole process, from measuring to the final pull‑back, so your curtains look great and stay secure.
Tools and Materials You’ll Need
Grab a tape measure, a pencil, a level, a drill (or screwdriver), and the right anchors for your wall type. If you’re aiming for an eco‑friendly setup, look for metal brackets made from recycled steel or bamboo‑covered hooks. Have your curtain rod, brackets, and curtains ready before you start.
Step‑by‑Step Installation
1. Measure the window. Measure the width of the window and add extra length (usually 10‑15 cm on each side) for the rod to extend beyond the frame. This lets the curtains slide open fully and lets light in when you want.
2. Mark the bracket spots. Using the rod as a guide, mark where each bracket will sit. A good rule of thumb is to place brackets 5‑10 cm above the window frame. Use a level to make sure the marks are even – crooked brackets mean crooked curtains.
3. Choose the right anchors. For plasterboard, use plastic anchors; for brick or concrete, pick masonry plugs. Drill pilot holes, push in the anchors, and then screw the brackets in place. Tighten just enough so the brackets stay firm but don’t strip the screws.
4. Hang the rod. Slip the rod through the curtain rings or pockets, then rest it on the brackets. If the rod feels wobbly, check the bracket screws again – they’re often the culprit.
5. Dress the curtains. Slide the curtains onto the rod or attach the rings. Evenly space the folds and make sure the bottom of the curtains just kisses the floor (or hovers a centimetre above for a cleaner look).
6. Final adjustments. Step back, open and close the curtains a few times, and adjust any unevenness. Tighten any loose screws, and if the curtains still look off‑center, shift the rod a few millimetres.
That’s it – you’ve nailed a professional‑looking window treatment without the price tag. Plus, you’ve used reusable hardware that lasts for years, keeping your home greener.
Quick tip: If you’re using heavy drapes, consider adding a third middle bracket for extra support. It prevents sagging and keeps the rod from bowing under weight.
Now you can enjoy the perfect blend of style, function, and sustainability. Grab a cup of tea, pull those curtains back, and admire your handiwork!
-

How Low Should Curtains Go? Finding the Perfect Length for Your Home
Choosing the right curtain length can make a huge difference in how a room feels and functions. Whether you want a classic floor-length look or a modern sill-length, understanding the pros and cons of different curtain lengths is key. Learn about common styles, installation tips, and how curtains can enhance or detract from your room's aesthetics.
