Your bathroom sets your mood twice a day. Small, targeted additions can flip it from cluttered and cold to calm and practical-without ripping out a single tile. This guide shows you what to add, where it goes, and what it costs (UK‑friendly, 2025 prices), with renter-safe options and owner upgrades.
- Quick wins first: add storage you’ll use daily, fix lighting, and improve ventilation if mirrors steam up.
- Use the wet‑zone rule: anything near the bath/shower must be rust‑proof and correctly rated (UK IP ratings below).
- Renter? Go no‑drill: tension, adhesive, over‑door, and freestanding pieces.
- Bills on your mind? Fit flow limiters and LED lighting; check fans meet Part F airflow guidance.
- Plan in 20 minutes: measure, set one priority, pick a finish, buy once, install in an hour.
Start Here: A Quick Plan That Stops Random Buying
If you clicked wondering “What can I add to my bathroom?” you probably want one of four outcomes: more storage, a nicer look, better lighting/air, or a little hotel‑style luxury. Here’s a clean, no‑waste plan.
- Pick one lead goal (storage, light, ventilation, or spa feel). Don’t try to nail all four at once.
- Measure these three things:
- Free wall width (in cm) at 140-160 cm height for shelves and towel rails.
- Gap above the loo (usually 50-70 cm) for a cabinet or shelf.
- Shower corner height (180-200 cm) for a caddy that won’t clash with the shower head.
- Set a micro‑budget and time box:
- £25-£60, 30-60 mins: hooks, caddy, shower squeegee, window film, plant.
- £60-£150, 1-2 hrs: mirror with shelf, new shower head, over‑toilet unit, peel‑and‑stick improvements.
- £150-£400, half‑day: LED mirror cabinet, heated towel rail (electrician needed), humidistat fan.
- Choose one metal and one accent: match tap/rail/handle finishes (chrome, black, brass). Add one warm element (wood tray or textured textiles) for balance.
- Prioritise easy fixes before complex ones:
- Clutter → storage trays and hooks.
- Dark → mirror lighting and brighter bulbs.
- Steam/mould → upgrade fan and add a squeegee routine.
- Boring → art, plants, nicer textiles, and a tray that makes products look intentional.
Safety and UK context worth your time:
- Bathroom electrical zones (IET Wiring Regs BS 7671): Zone 0 (inside bath/shower) needs IPX7; Zone 1 (above bath/shower up to 2.25 m) needs IP65; Zone 2 (0.6 m around bath/shower) needs IP44 or better. Outside zones allow standard IP ratings, but always use a qualified electrician.
- Ventilation (Building Regulations Part F, UK): typical bathroom fans should pull 15 l/s or more; consider humidistat or boost timers for persistent condensation.
- Water: Look for the Unified Water Label and WRAS‑approved parts; tap aerators can cut basin flow to 4-6 l/min without a “dribble” feel.
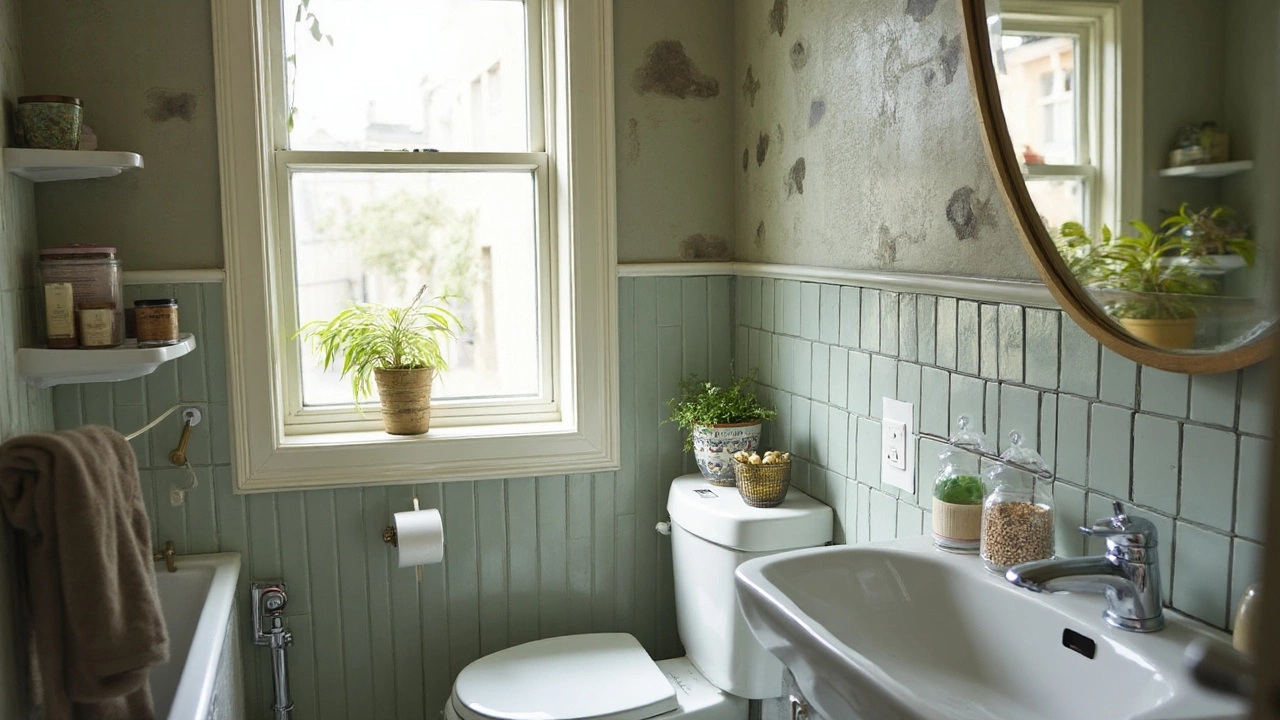
Storage & Space Savers You Can Add This Weekend
Storage solves most bathroom pain fast. Go vertical and use dead space. Here’s what actually works in tight UK bathrooms.
- Over‑the‑toilet shelving: Turns the no‑man’s‑land above the cistern into towel and loo roll storage. Choose slim profiles (20-25 cm deep) so you don’t head‑butt it.
- Mirror with shelf or cabinet: A shallow shelf under a mirror holds toothbrushes and handwash and clears the basin. Mirrored cabinets add hidden space and bounce light.
- Tension or adhesive corner caddies: No drilling, great for rentals. Stainless or anodised aluminium resists rust. Check load rating (aim for 3-5 kg per basket).
- Back‑of‑door racks: Over‑door hooks for robes; pocket organisers for hair tools and skincare. Make sure the door still closes smoothly.
- Magnetic strips and slim rails: A narrow magnetic strip inside a cabinet for tweezers/nail clippers; a small rail under a shelf for hand towels.
- Stackable bins under the sink: Two shallow drawers beat one deep basket; you’ll actually use the back space.
- Tray it, don’t spray it: Corralling bottles on a tray looks tidy instantly and makes cleaning faster. A bamboo or stone tray also brings warmth.
- Freestanding ladder rack: Adds towel space without drilling; great in rentals or when walls are crumbly plasterboard.
Set‑and‑forget habits that make storage pay off:
- One‑in, one‑out for products. No “graveyard” bottles in the shower.
- Keep daily items at hand height, guests at eye height, backups up high.
- Decant or label so you don’t buy duplicates.
Placement cheats that feel professional:
- Towel rail height: 120-140 cm from floor to top of the rail for standard hand towels.
- Toilet roll holder: 65-80 cm height, 50-60 cm forward from the front of the pan.
- Mirror: top of mirror around 180-200 cm from floor; bottom 15-20 cm above the tap spout to avoid splash marks.
Pitfalls to dodge:
- Adhesive hooks on textured tile won’t hold; use suction on very smooth tile or go tension/freestanding.
- Rust roulette: powder‑coated mild steel looks smart but can rust quickly; pick stainless, brass, aluminium, or plastic for the shower zone.
- Drilling into tile: use a tile bit, low speed, no hammer, masking tape for grip, and a detector to avoid pipes/cables.
Budget‑friendly buys that punch above their weight:
- Shower squeegee (and hang it): 10 seconds after each shower saves you from weekly scrubbing and keeps glass clear.
- Window privacy film: frosted film lets in light, adds privacy, and hides ugly views for about a tenner.
- Microfibre set: colour‑coded cloths stop bathroom grime spreading and make quick wipes painless.
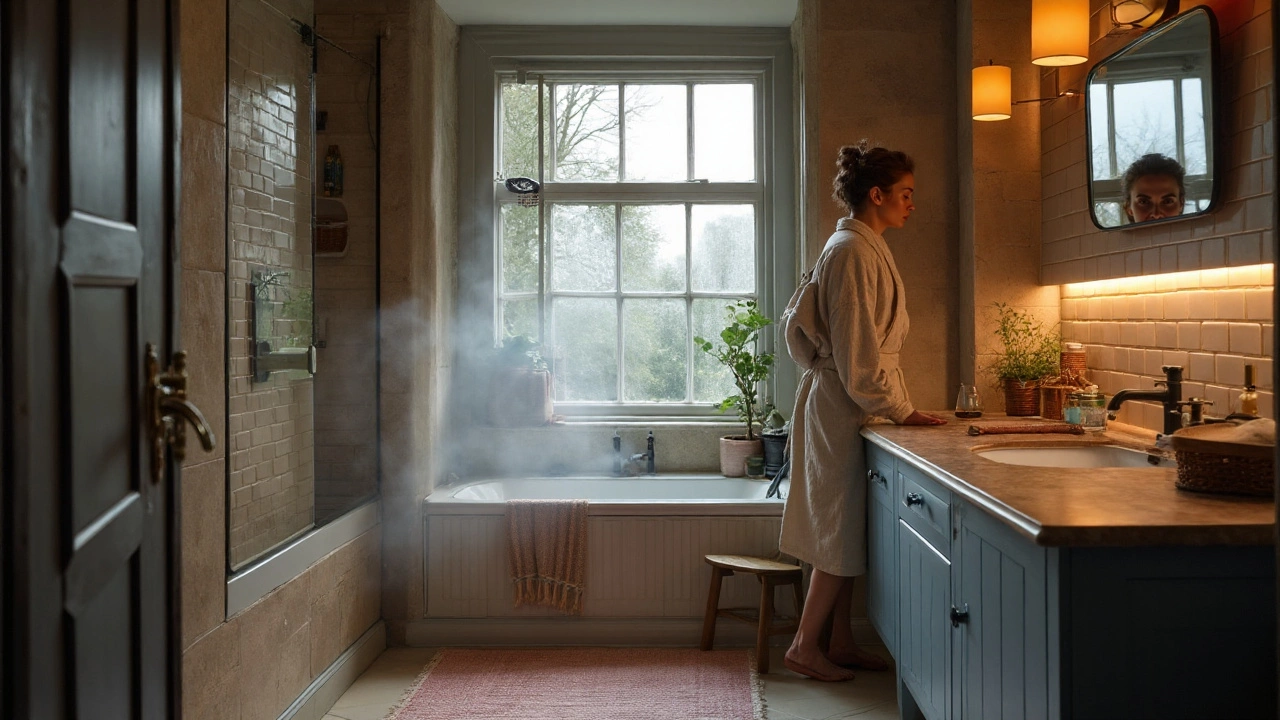
Style, Wellness & Function: Add Comfort You Feel Daily
This is where small additions change the feel of the room. Think light, air, touch, and a couple of standout moments.
Lighting that flatters, not frightens
- LED mirror with integrated lights: Evens out face lighting so you don’t get shadows. Look for CRI 90+ and 3000-3500K for warm‑neutral light.
- Wall lights at face level either side of a mirror (Zone 2 or outside) create soft, even light. Confirm IP44 or better if within 0.6 m of a water source.
- Motion night light: Battery or USB‑rechargeable, low glow near the floor keeps 3 a.m. trips gentle.
Ventilation and air quality that actually work
- Humidistat fan: It auto‑boosts when steam rises, then turns off-great for forgetful households. Aim for 15-30 l/s depending on bathroom size (Part F guidance).
- Fan timer upgrade: If your fan is fine but stops too soon, a timer overrun (10-20 minutes) helps dry the room.
- Dehumidifying plant: Peace lily or Boston fern thrive in humidity and soften the space. Keep away from direct shower spray.
Water‑saving swaps that don’t feel stingy
- Tap aerator: A £5-£15 insert drops basin flow to 4-6 l/min while keeping the feel. Check your tap thread size first.
- Efficient shower head: Look for 6-8 l/min heads with air‑mixing tech. They feel fuller yet use less water. If you have low pressure, choose a head designed for it.
- Duel‑flush button refurb: If the flush sticks or leaks, a new button kit or siphon can cut water waste. WRAS‑approved parts keep you on the safe side.
Comfort and spa vibes without the hotel bill
- Heated towel rail: Electric models can be retrofitted; look for programmable timers for weekday/weekend schedules. Get a pro to wire within zones.
- Soft textiles: Swap thin bath mats and stiff towels for heavier GSM. Choose quick‑drying weaves if the room is small.
- Bath board/tray: Adds a spot for a book and a candle; doubles as staging for guests.
- Aromatherapy: Essential oil shower steamer discs or a reed diffuser (away from the bath zone). Keep scents light-eucalyptus, mint, or citrus for mornings; lavender for nights.
Renter‑friendly style moves (no drill)
- Peel‑and‑stick splashback tiles (behind the basin) and marble‑look vinyl on a tired countertop can refresh a space in an hour.
- Framed art with moisture‑safe frames (acrylic glazing) on Command hooks. Rotate prints seasonally.
- Fluted glass film for a trend hit; it hides clutter inside cabinets and adds texture.
2025 trend notes that work in small bathrooms:
- Warm metal accents (brushed brass/bronze) paired with one natural element (wood, stone) stop all‑white rooms feeling clinical.
- Textured cottons and ribbed accessories add tactility without taking space.
- Matte black still looks sharp, but keep to one or two touches so water spots don’t rule your life.
Costs, Picks & What’s Worth It: A Fast Comparison
Use this table to decide quickly. Prices are typical UK high‑street/online in 2025 and will vary by brand and size.
| Addition | Typical Cost (UK) | Time | Skill | Renter‑friendly? | Impact (1-5) |
|---|---|---|---|---|---|
| Adhesive hooks (multi‑pack) | £5-£12 | 10 mins | Easy | Yes | 3 |
| Corner shower caddy (tension) | £20-£40 | 15-30 mins | Easy | Yes | 4 |
| Over‑door rack | £10-£25 | 5 mins | Easy | Yes | 3 |
| Mirror with shelf | £40-£120 | 30-60 mins | Moderate (drill) | Sometimes (no‑drill tape if light) | 4 |
| LED mirror cabinet | £120-£250 | 1-2 hrs | Pro (electrical) | No | 5 |
| Tap aerator | £5-£15 | 5-10 mins | Easy | Yes | 4 |
| Efficient shower head | £20-£80 | 10-20 mins | Easy | Yes | 4 |
| Humidistat fan | £60-£140 (fan only) | 1-2 hrs | Pro (electrical) | N/A | 5 (if you get condensation) |
| Heated towel rail (electric) | £70-£180 (+ fitting) | 1-3 hrs | Pro (electrical) | N/A | 4 |
| Peel‑&‑stick tiles/film | £20-£40 per m² | 1-2 hrs | Easy | Yes | 3-4 |
| Freestanding ladder rack | £30-£80 | 10 mins | Easy | Yes | 3 |
| Quality towels & mat | £30-£100 | 5 mins | Easy | Yes | 3-4 |
How to choose quickly by scenario:
- Tiny rental, zero drilling: Tension caddy + over‑door hooks + tray + window film. Add a battery motion light.
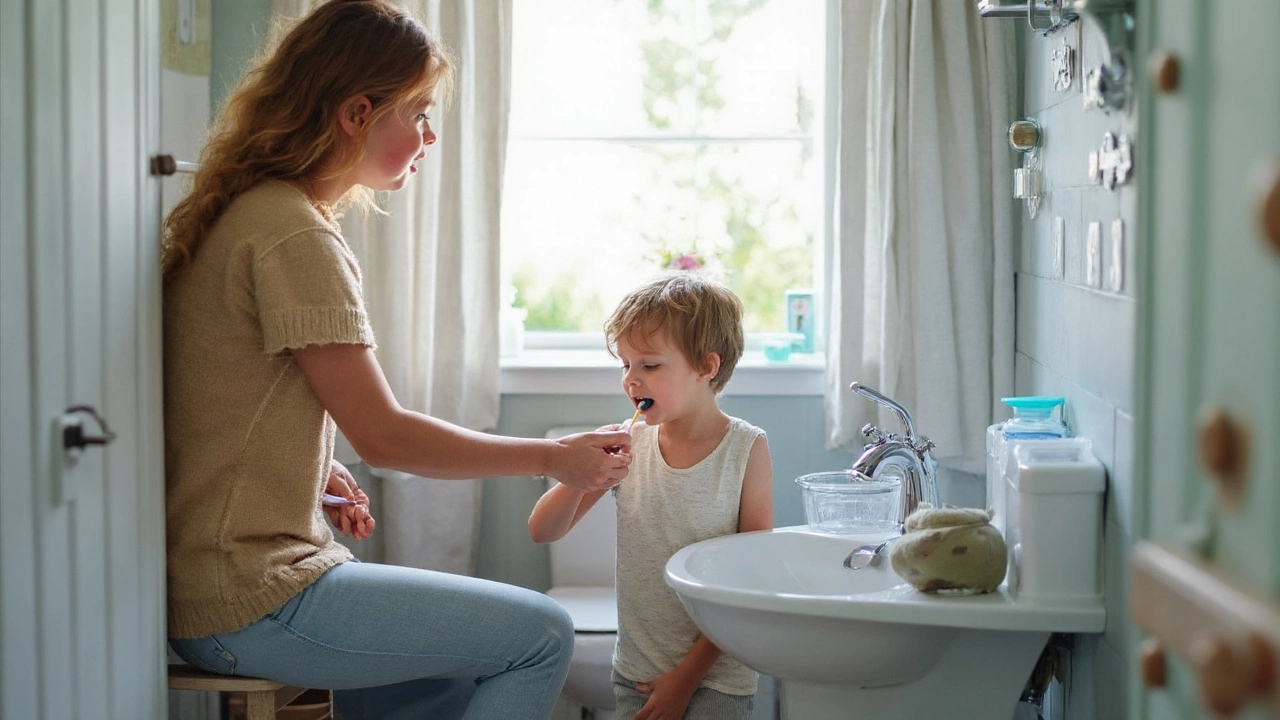
- Family bathroom chaos: Mirror cabinet + rail at kid height + stackable under‑sink drawers. Label baskets by person.
- Dark, steamy box: Brighter, high‑CRI LEDs + LED mirror + humidistat fan + squeegee routine.
- Guest‑ready in an hour: New towels, a bath mat, eucalyptus diffuser, tray with minis, and a small plant.
Owner‑only upgrades worth saving for:
- Replace the fan with a quiet unit (dB rating under ~25-30 if possible). The house smells fresher and mould backs off.
- Fit a heated mirror pad (demister) behind the mirror so it never fogs. It’s a small luxury you’ll use daily.
- Swap a dingy ceiling pendant for a damp‑rated flush LED with good CRI. The whole room looks upgraded.
Renter‑safe hacks with surprising impact:
- Use a long bathroom ideas tray on the cistern top with a plant and loo rolls; it looks styled rather than stacked.
- Add a slim rolling trolley beside a vanity; tuck it away when guests come.
- Stick felt pads under freestanding units to avoid marks; take them when you move.
Evidence notes you can trust:
- UK Building Regulations Part F sets bathroom airflow expectations; a fan that meets l/s targets cuts condensation risk compared to window‑only ventilation.
- IET Wiring Regulations (BS 7671) define bathroom zones and IP protection; following them reduces electric shock risk.
- The Unified Water Label tracks product flow/flush performance; aerators and efficient shower heads documented there reduce consumption without tanking user comfort.
Checklists, FAQs & Next Steps
Install day checklist (print or save)
- Measure twice: width, height, and door swing clearances.
- Check wall type (tile, plasterboard, masonry) and pick fixings to match.
- Confirm bathroom zones for any electrical item; check IP rating on the box.
- Load rating: shelf/rail/caddy must exceed the weight you plan to put on it by 20%.
- Have consumables: spirit level, tile drill bit, masking tape, silicone or clear adhesive, alcohol wipes for surfaces.
- Plan positions on blue painter’s tape before drilling or sticking.
- Test adhesion for 24 hours before loading to full capacity.
Style cheat‑sheet
- Limit to one metal finish + one natural accent for a cohesive look.
- Repeat textures (ribbed glass, waffle towels) 2-3 times to make them feel intentional.
- Use the 70/20/10 rule: 70% base (tile/paint), 20% functional accents (rails, mirror), 10% decorative (art, plants).
Moisture‑proofing cheat‑sheet
- Seal fixings into tile with a dab of clear silicone to stop water tracking behind.
- Choose closed‑cell foam bath mats or quick‑dry textiles in tiny bathrooms.
- Ventilate for 15-20 minutes after each shower (fan or window); leave the door slightly ajar.
Mini‑FAQ
- What can I add if I can’t drill? Tension caddies, freestanding shelves, over‑door hooks, adhesive rails, Command ledges, rolling carts, peel‑and‑stick film, battery lights.
- How do I stop mirror fog? A better fan, a demister pad behind the mirror, and a quick squeegee routine. Warm air + ventilation beats condensation.
- Are brass accessories a bad idea in humid rooms? Solid or PVD‑coated brass holds up; cheap lacquered finishes can pit. In shower zone, choose stainless or PVD finishes.
- Will an efficient shower head feel weak? Not if you choose an air‑mixing or pressure‑compensating model matched to your system (combi vs gravity). Check flow rate and pressure compatibility.
- How bright should bathroom lights be? Aim around 500-700 lumens at the mirror with CRI 90+ in 3000-3500K; add a ceiling light for general illumination.
- What plants survive with no window? Try low‑light tolerant options under a grow bulb set on a timer, or go for high‑quality faux greenery and keep it dust‑free.
Troubleshooting
- Adhesive accessories keep falling: Degrease with alcohol, warm the tape with a hairdryer before sticking, press for 30-60 seconds, wait 24 hours, and mind the load limit. On textured tile, switch to tension or drill.
- Fan is loud but poor: The duct may be long or kinked. Choose a fan with higher pressure (Pa rating) and back‑draught shutter; have a pro assess the run.
- Rust spots on a “stainless” caddy: It might be low‑grade steel. Rinse soap residue, dry weekly, and consider aluminium or plastic for the wettest zone.
- Bathroom still looks messy: Reduce surface items to a tray, move backups to a bin under the sink, and hide labels by decanting frequently used liquids.
Your next 60 minutes
- Pick one goal: storage, light, air, or spa.
- Measure 3 spots (over loo, mirror area, shower corner).
- Buy 3 things max that support that goal.
- Install, then live with it a week before adding more.
Do the smallest thing that fixes the biggest daily annoyance. That’s how you get a bathroom that works and feels good-no renovation required.